

Light is at the heart of every photograph. It gives life, depth and emotion to our images. By understanding and mastering the different nuances of light, we can capture the beauty of our subjects in a unique way.
The way you use light in your photographs can greatly impact the overall look and feel of the image.
Light creates shadows, highlights, and contrast which can add depth and ambience to your photographs.
How Light Shapes a Photograph
Exposure and Brightness:
Light determines how bright or dark your image is. Too much light washes out details (overexposure), while too little creates muddy dark areas or complete blackness (underexposure).
Contrast and Dimension:
The interplay of highlights (bright spots) and shadows adds depth and form. Without shadows, a three-dimensional subject can look flat and two-dimensional.
Direction:
Front lighting creates flat, even tones; side lighting accentuates textures and creates dramatic shadows; backlighting outlines your subject in a glowing rim or turns it into a silhouette.
Techniques for using light in photography
You can be as creative as you wish when experimenting with light but there are several techniques that are most effective when lighting your subject.
One technique is to use reflectors to bounce light onto your subject. This can help to fill in shadows and create an evenly dispersed lighting effect.
Another technique is to use a diffuser to soften harsh light. A diffuser can help to create a more natural-looking effect by spreading out the light and softening the intensity of shadows.
Warm light can create a cosy and inviting atmosphere, while cool light can create a more clinical or sterile feel.
Understanding the Quality of Light.
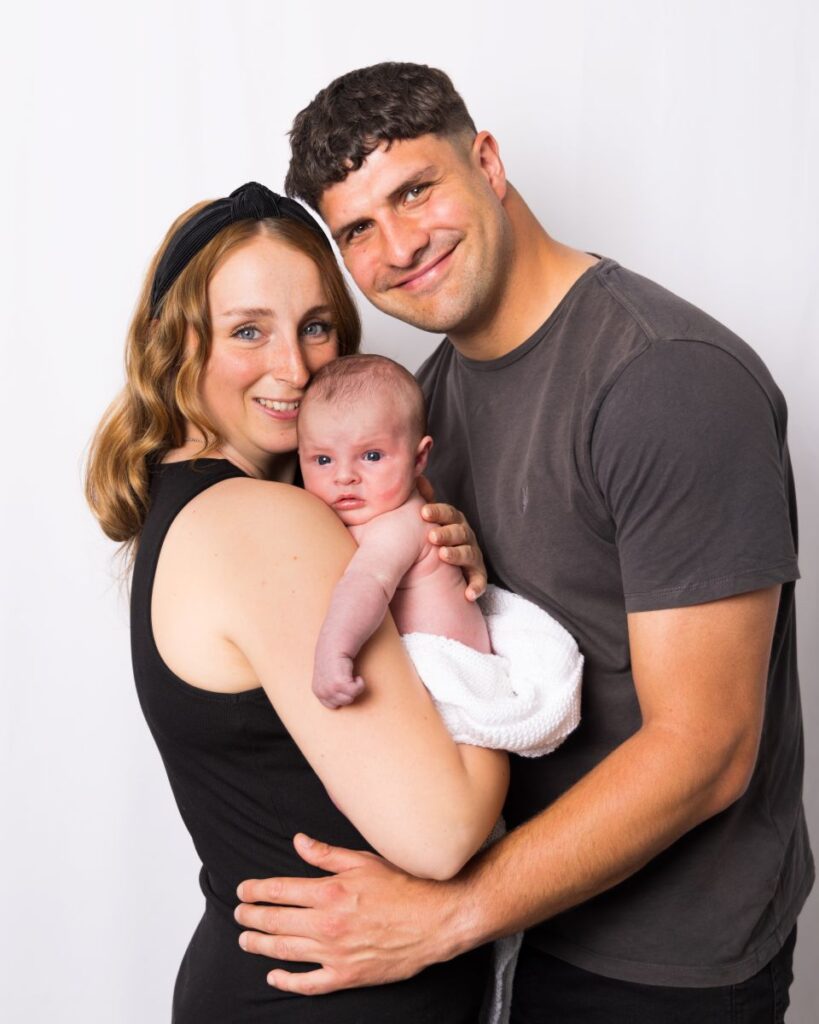
The quality of light refers to how hard or soft the light is, soft light can create a more flattering effect, while hard light can create harsh shadows.
Soft Light
With your light source diffused, either by bouncing or screening light, the effect is more subtle than it would be with a direct source of light.
By using soft light, you will end up with less intense shadows, if any at all, and a lower contrast between the darks and lights in your photo.
If you’re working in a photography studio, you can use a diffusion panel between the light source and your subject.
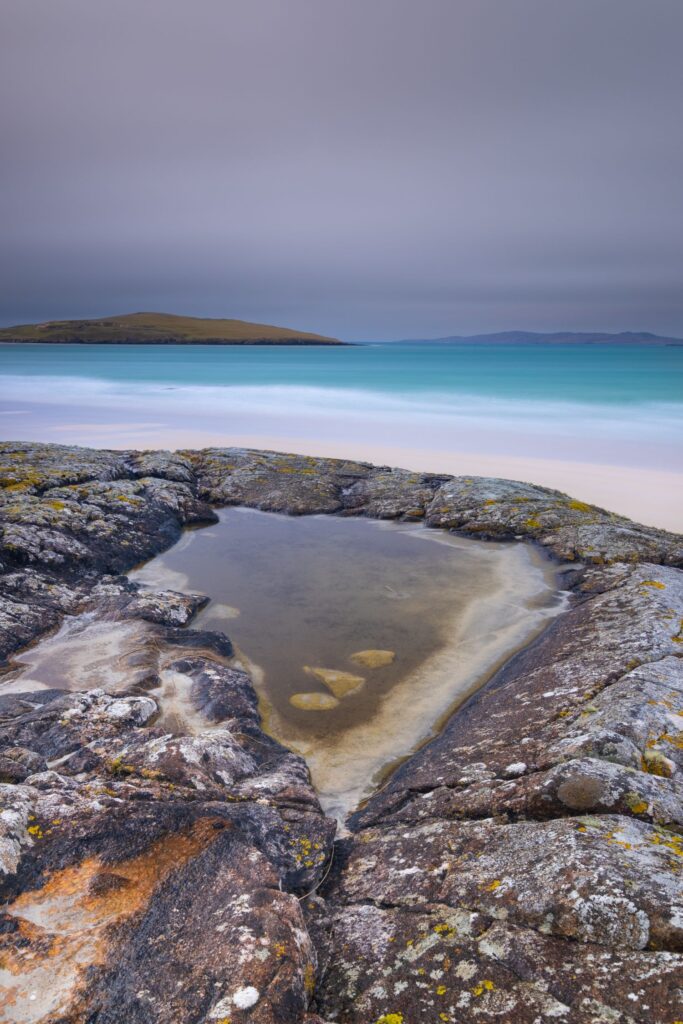
If you’re shooting outside, soft light will occur naturally on an overcast day, as the clouds in the sky diffuse the direct light from the sun.
By keeping the light soft, you can achieve a gentle appearance in your portrait photography.
Hard Light
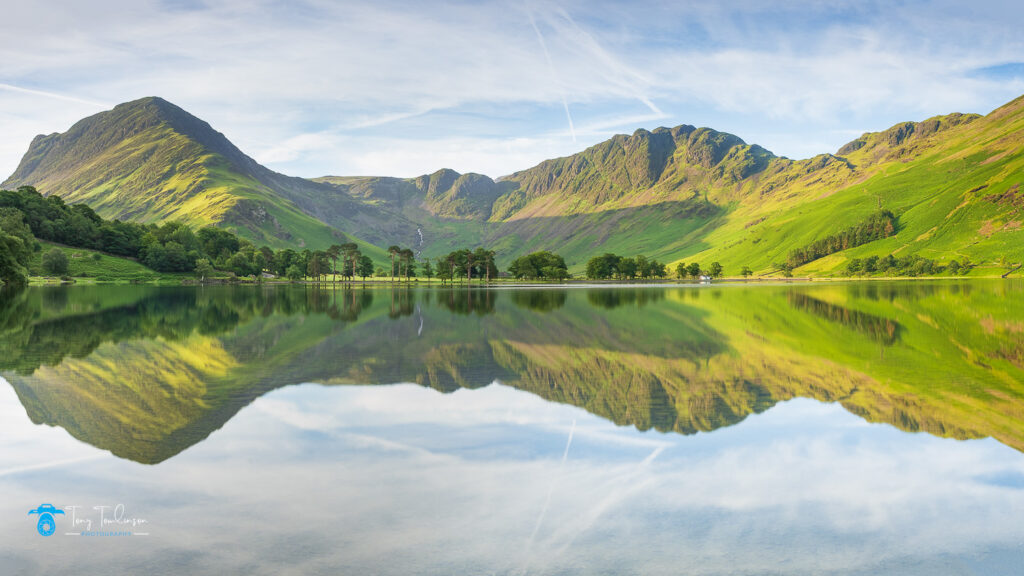
The opposite of soft or diffused light, hard lighting is when your light source is pointed directly at your subject.
It results in high contrast and intensity, bright whites and dark shadow, and is often created by making use of the midday sun.
You can also manufacture this type of light in your studio by using a spotlight or other source of light that is not diffused.
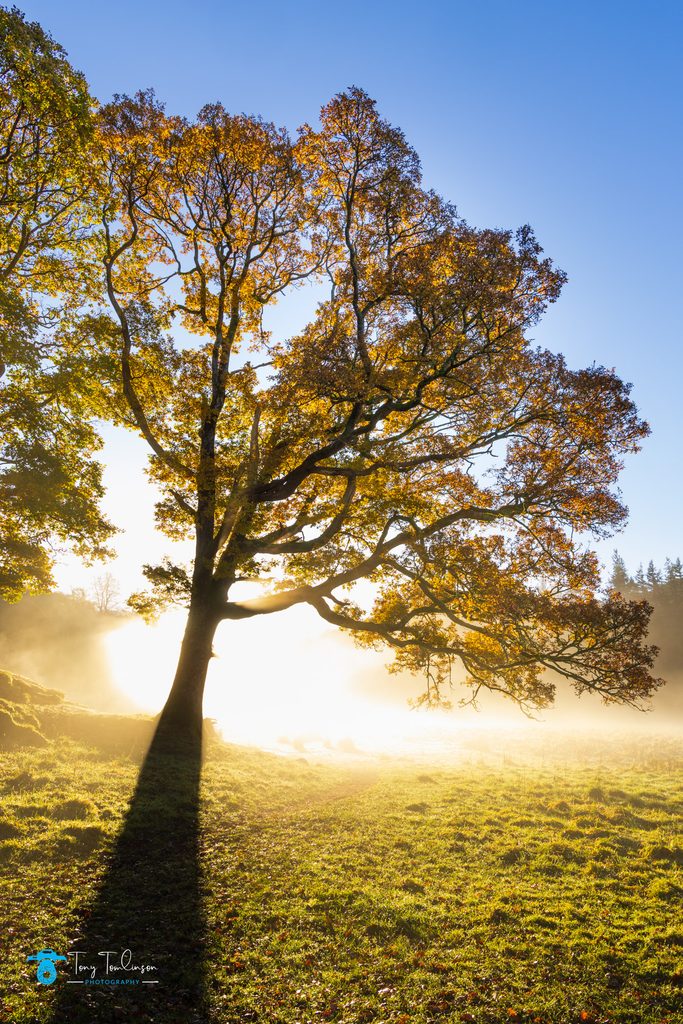
The Main Sources of Light for Photography
There are two significant differences between natural lighting and artificial sources.
Natural Light
If you want to use natural light in your photography, it’s important to understand the angle of the sun and how that will affect your composition.
For most of the day, the sun is directly overhead so your subject will be lit from above, in portraiture, this can cause shadows under the eyes–filling in the shadows with a reflector can be helpful during the hours when the sun is directly overhead.
A sunny day without clouds will result in more intense shadows, while a sky full of clouds will diffuse the sunlight so that the contrast of light on your subject is less harsh.
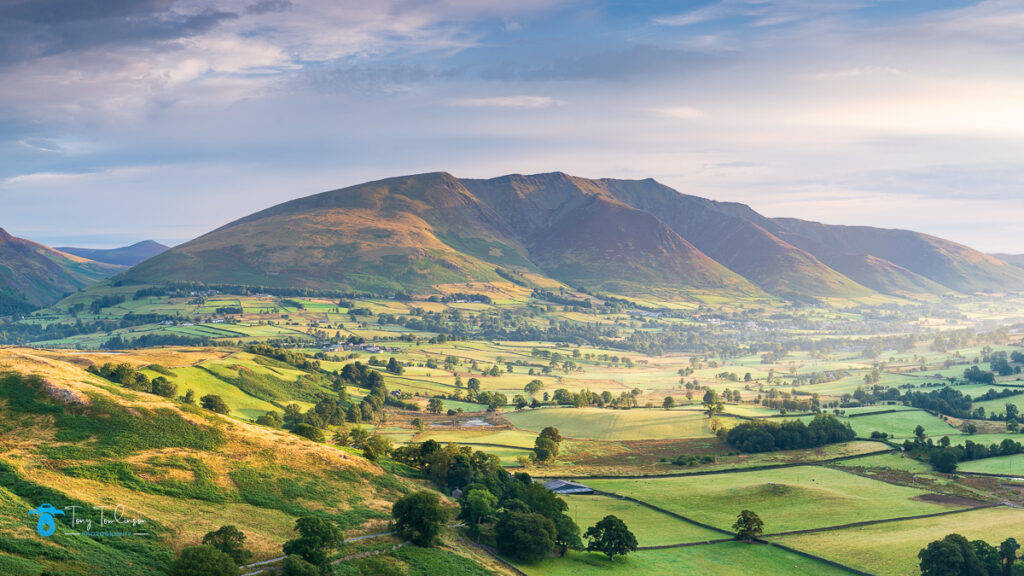
For natural lighting that is softer, you may want to make use of the hours closest to sunrise and sunset, when the sun will be off to a slight angle as opposed to directly above your subject, and the brightness of the sun may be less extreme.
These hours are referred to as “golden hour” as the quality of light is warmer and can naturally bathe a subject with the most flattering light.
Artificial Light
A bright and very brief photographic flash from a single position (close to the camera generally), typically used in a studio environment.
Creating natural-looking artificial lighting, artificial lighting strategies that seem most “natural” duplicate the same contrast pattern clues seen on 3D objects in various lighting conditions.
A typical studio lighting configuration will consist of a fill source to control shadow tone, a single frontal key light to create the highlight modelling.
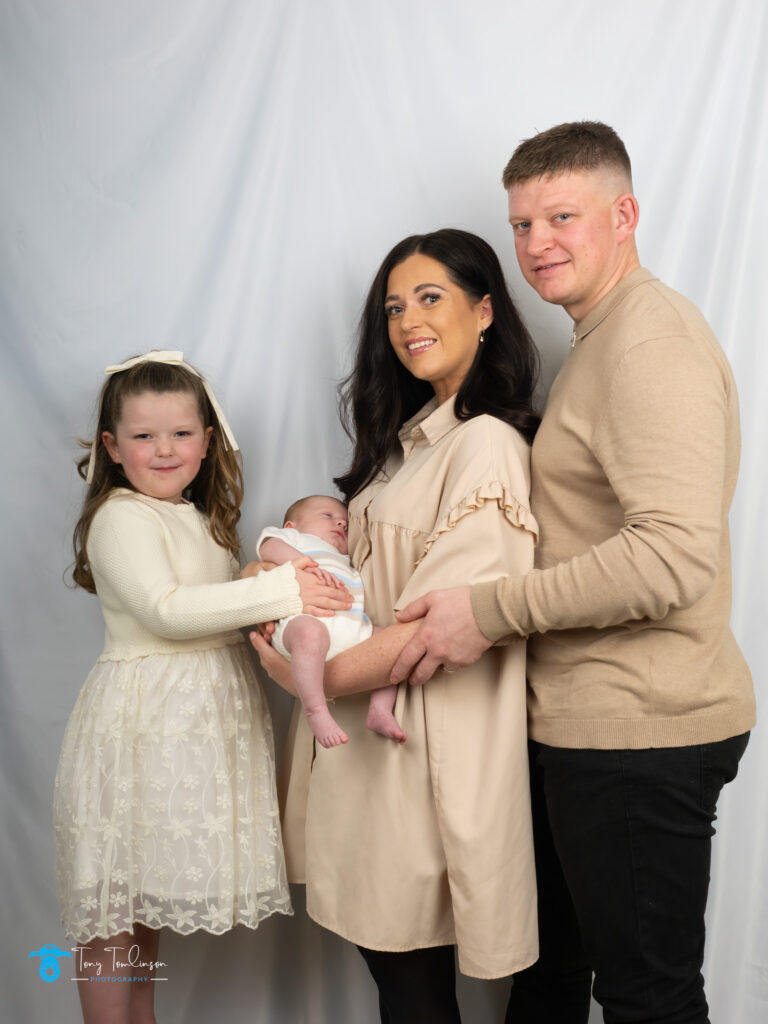
Methods of Lighting
Backlight
Placing the light source behind the subject, with the subject in between the light and your camera, will create a backlit effect.
This can be a great opportunity to play with silhouette and long shadows in your photography.
The potential downside to backlit photos is that if the exposure is off, you’ll be left with a sad lack of detail in your subject or a blown out light source.
This works well for silhouettes, but if you still want to see some detail on your subject, this is the time to pull out your light diffuser to reflect some of the light from the background onto the front of the subject or fill it in with a flash.
Rim Light
Rim light can be created using a form of backlighting, where the light is at an angle from behind or above.
The light will hit your subject in a way that creates a glowing outline or highlight around the subject, depending on the direction that your light is coming from.
This technique is useful for distinguishing the subject from the background by providing definition.
Position your light source above and behind your subject and adjust until you see the light rim appear.
If you’re not getting enough of the detail on the front of your subject, pull out a reflector to bring sufficient lighting to their features.
Loop Lighting
Loop lighting is a specific technique used for portraits, the name refers to a “loop” of shadow from the nose on the cheek. It is generally considered a less dramatic and intense option for portraits than some of the other options listed.
Loop lighting is universally flattering, so if you have multiple portrait appointments or mini sessions in one day, this is a great trick to pull out of your pocket.
Position your light slightly higher than the model’s eye level and at a 45-degree angle.
Split Lighting
When the light hits your subject at a 90-degree angle, that is called split lighting, this results in a straight line down the centre of your subject’s face, with one side entirely lit and the other side completely in shadow.
This is a great option for a dramatic portrait, particularly if you are using a hard light as opposed to soft.
Rembrandt Lighting
This style of lighting is named after the way that Rembrandt used light in his portrait paintings.
It is a type of side lighting, similar to split lighting, except that the side of the face that is in shadow has a triangle of light under the eye.
This can be highly effective in making a two-dimensional image appear three dimensional.
Indoor Photography Lighting
While there are many types of artificial light that you can invest in for your studio, natural light is a great option for portraits, even when you are shooting inside.
Set up your model near a window and see how the colour of light changes throughout the day and alters the effect of your photo.
If you do use outdoor light while indoors, make sure to turn off your indoor lights, as they may be two different colours and can create an uneven tone–known as cross or mixed lighting.
Lighting for Portraits
The lighting you choose will depend on your subject’s face, while options like butterfly and loop lighting are considered universally flattering, every model is different, so be open to changing things up at the last minute if you aren’t getting your desired effect.
If you want to play up the personality in your subject’s face, you might want to experiment with more severe lighting options, like Rembrandt and split lighting, although you can lessen the drama if you use a light reflector to balance the other side of their face.