As a Lake District Photographer, light is the essential, creative element in photography, acting as both the source of illumination and the primary tool for creating mood, depth, and texture.
Controlling light through natural or artificial sources determines the subject’s prominence, contrast, and overall atmosphere.
Understanding Light
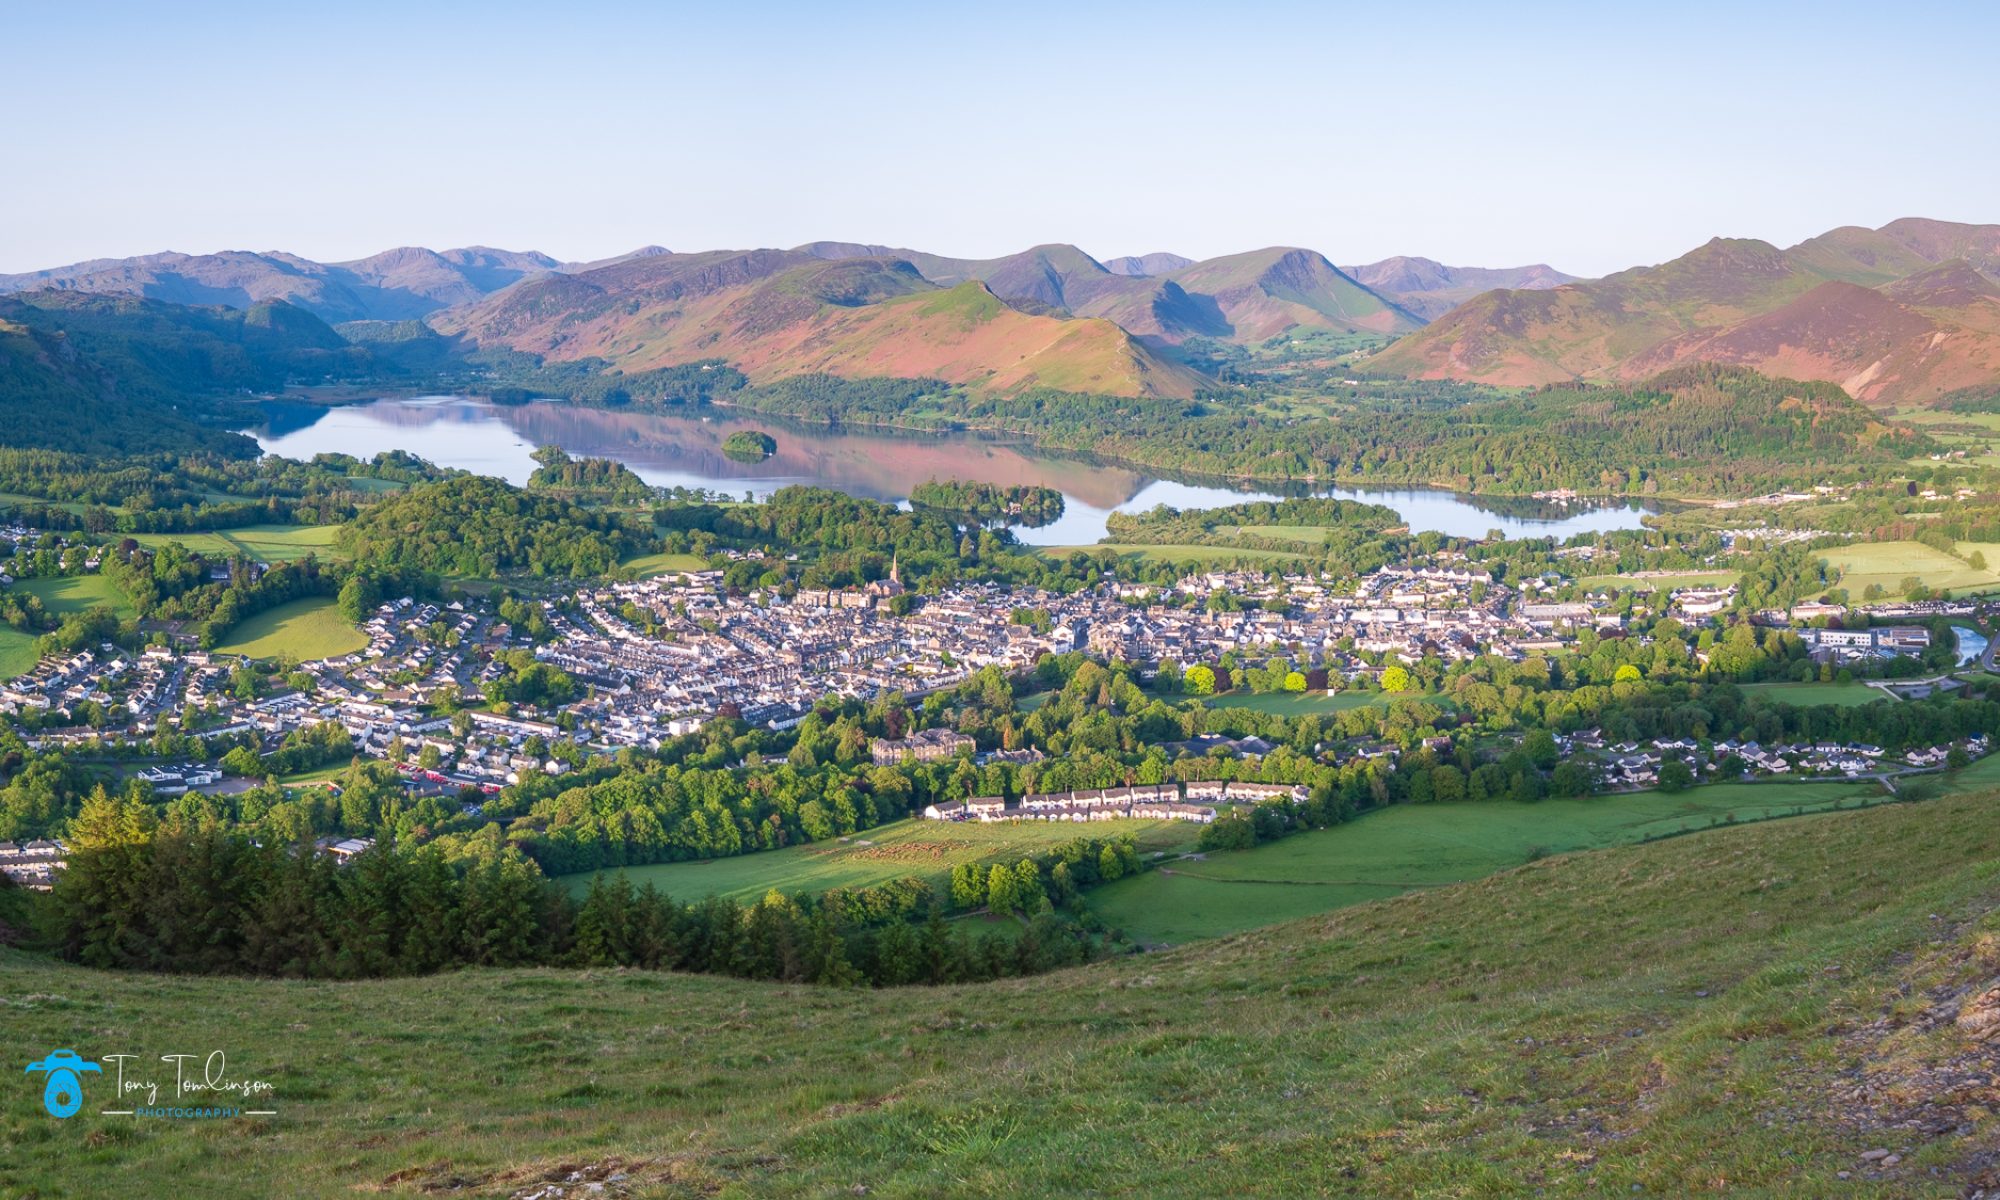
To fully appreciate the importance of light in photography, even in the best photography locations in the Lake District, it is important to have a basic understanding of how light works.
Light is a form of energy that travels in waves, when light waves enter the human eye or a camera lens, where the brightness and colour are interpreted to create an image.
It is the perception of light waves that creates a picture.
Light is the most essential component of photography, but the fun doesn’t have to stop when the sun goes down, portable flash, speedlights (small portable flash units), or studio flash (larger, mains powered light units) can be used to create both soft and hard light under stringently controlled conditions.
Light defines the photograph through intensity, this can be either hard or soft light, the direction of the light upon the subject, and colour temperature of the light.
Soft and/or Hard Light.
Soft light can be categorised as being gentle and/or diffused light creating subtle shadows, often found on cloudy days or using soft boxes/diffusers in a studio environment these are ideal for flattering portraits.
Hard light is normally created by direct, intense light which creates harsh, defined shadows, this great for high-contrast, dramatic scenes.
Using the direction of light in your photographs:
Front Light, this normally Illuminates the subject evenly, minimizing shadows but can produce flat images.
Side Light this highlights texture and creates drama by illuminating one side of the subject.
Back Light is when the light source is positioned behind the subject, creating silhouettes or a glowing “rim light” effect that separates the subject from the background.
More than one direction of light can be used to illuminate the subject, this is normally used in studio photography where is easier to accurately set-up and control the different light sources to create the image that the photographer is looking to achieve.
Light Temperature
Light temperature can be measured in different ways; the Kelvin range uses a number value to a given temperature colour.
Colour temperature can also be changed using a slider/dial where the range can be aligned from the blue to yellow spectrum, as you move the slider/dial the temperature within the image changes according to the direction you are moving the slider/dial.
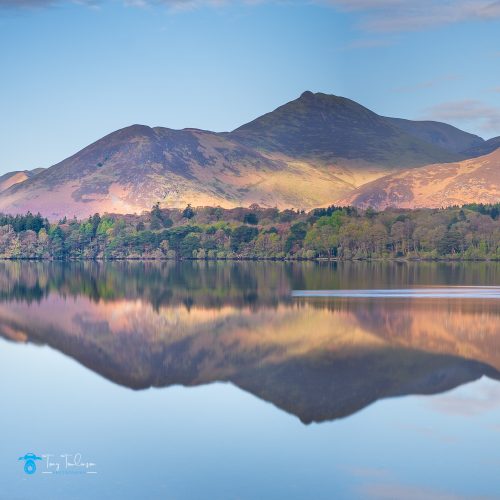
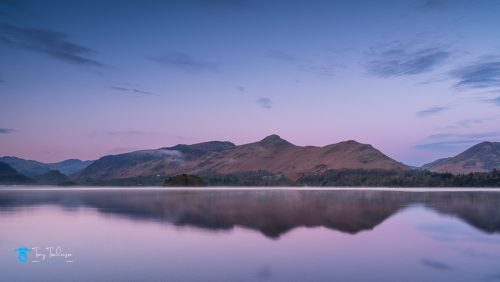
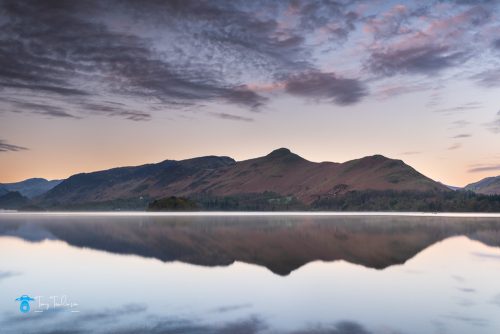
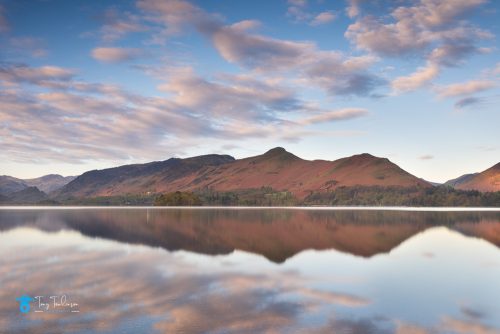
Examples of colour temperature are the golden hour, this would be rated a “warm” (yellow end of the colour spectrum) colour temperature, but an ice or snow scene would be rated as being “cold” (blue end of the colour spectrum) colour temperature.
A Lake District sunrise photograph would produce a “warm” colour temperature image, alternatively a Lake district winter photograph would produce a “cold” colour temperature image.
The following series of images are shot from the same location, but at different times to demonstrate the differing colour temperatures within the image.
Practical Tips for Managing Light
Time of Day, midday light is often harsh, while morning and afternoon offer warmer, softer light.
Modify the light by using reflectors to bounce light into shadows or diffusers to soften harsh sunlight.
Light Painting is where a moving light source is used during long exposures to illuminate specific areas of a scene, or create a light “trail”
The Role of Light in Photography
The way you use light in your photographs can greatly impact the overall look and feel of the image.
Light creates shadows, highlights, and contrast which can add depth and ambience to your photographs.
You should learn to experiment with the placing of light or move your subject around to see how the changing light impacts upon your subject; this can dramatically impact the look and feel of an image.
The Roll of Exposure in Photography
Another important aspect of using light in photography is exposure.
The exposure settings on your camera will dictate the amount of light that enters the camera and hits the camera sensor.
A proper exposure is essential for creating well-lit photographs that accurately capture the subject.
Techniques for using light in Photography
You can be as creative as you wish when experimenting with light but there are several techniques that are most effective when lighting your subject.
One technique is to use reflectors to bounce light onto your subject, this can help to fill in shadows and create an evenly dispersed lighting effect.
Another technique is to use a diffuser to soften harsh light, a diffuser can help to create a more natural-looking effect by spreading out the light and softening the intensity of shadows.
You can also experiment with different types of lighting to create different moods in your photographs.
Warm light can create a cosy and inviting atmosphere, while cool light can create a more clinical or sterile feel.
Another important technique to consider is the use of artificial lighting, studio lighting can help you to create a controlled lighting environment that allows you to highlight specific elements of your subject.
Tips for Using Light in Different Situations
Using light effectively in photography can be challenging in different situations, here are some tips for using light in different situations:
Outdoor photography:
When shooting outdoors, it’s important to pay attention to the direction and quality of the light. Early morning and late afternoon light can create a warm and inviting atmosphere, while midday light can be harsh and unflattering.
Try shooting in the shade or using a diffuser to soften harsh light.
By following these points, you are well on the way to produce images that will be suitable for landscape photography prints
Indoor Photography:
Indoor photography shoots generally require artificial lighting; there are numerous options available to create your own studio so try experimenting with different types of lighting.
Reflectors, soft boxes, or light diffusers are a helpful tool when attempting to bounce light onto your subject.
As a family photographer in Cumbria, these actions are always assessed before and during a shoot to ensure the best possible results are obtained.
Portrait Photography:
When shooting portraits, the subject’s face is usually the focal point and the area that needs most attention.
Here, side lighting can create dramatic shadows, while front lighting can create a drab and unflattering look.
If the aim is to create a natural effect, a diffuser will soften any harsh light, any outdoor family photoshoot in the Lake District would embody these considerations.
Landscape Photography:
When shooting landscapes, the direction and quality of light will differ at different times of the day.
Early morning and late afternoon light can create a warm and soft atmosphere, while midday light can be overly severe, try using a polarising filter to reduce glare and create more vibrant colours.
You can use light to create depth and dimension where light can create long shadows and interesting highlights, this can add another dimension to photos and create additional depth.
Try experimenting with different lighting angles and intensities and observe how shadows and highlights behave as you move and adjust.
Conclusion
The importance of lighting in photography cannot be overstated, lighting is central to all photography and once you have a strong understanding of techniques and light quality, there is no stopping you from creating stunning images.
Thank you for finding the time to read this article, if you have any questions relating to “light” please get in touch.